
Want to understand how we can work together to elevate your brand?
Let's talk
Or email me at gaurav@catofilm.com
Creating an explainer or brand video can seem like a daunting task. There are so many moving parts, and if you screw up, all that time and money goes in vain.
I have been creating explainer videos for businesses across the world for 8 years now. In this post I will go through the process I have developed, which not only ensures timely delivery, but minimum revisions and highest client satisfaction.
Here is a guide along with a few words of wisdom for anyone who wants to make his/her first explainer video.
Gaurav Pant
IIT Delhi, 2012
Founder of design studio – CatoFilm
Ex Software Engineer & Data Analyst
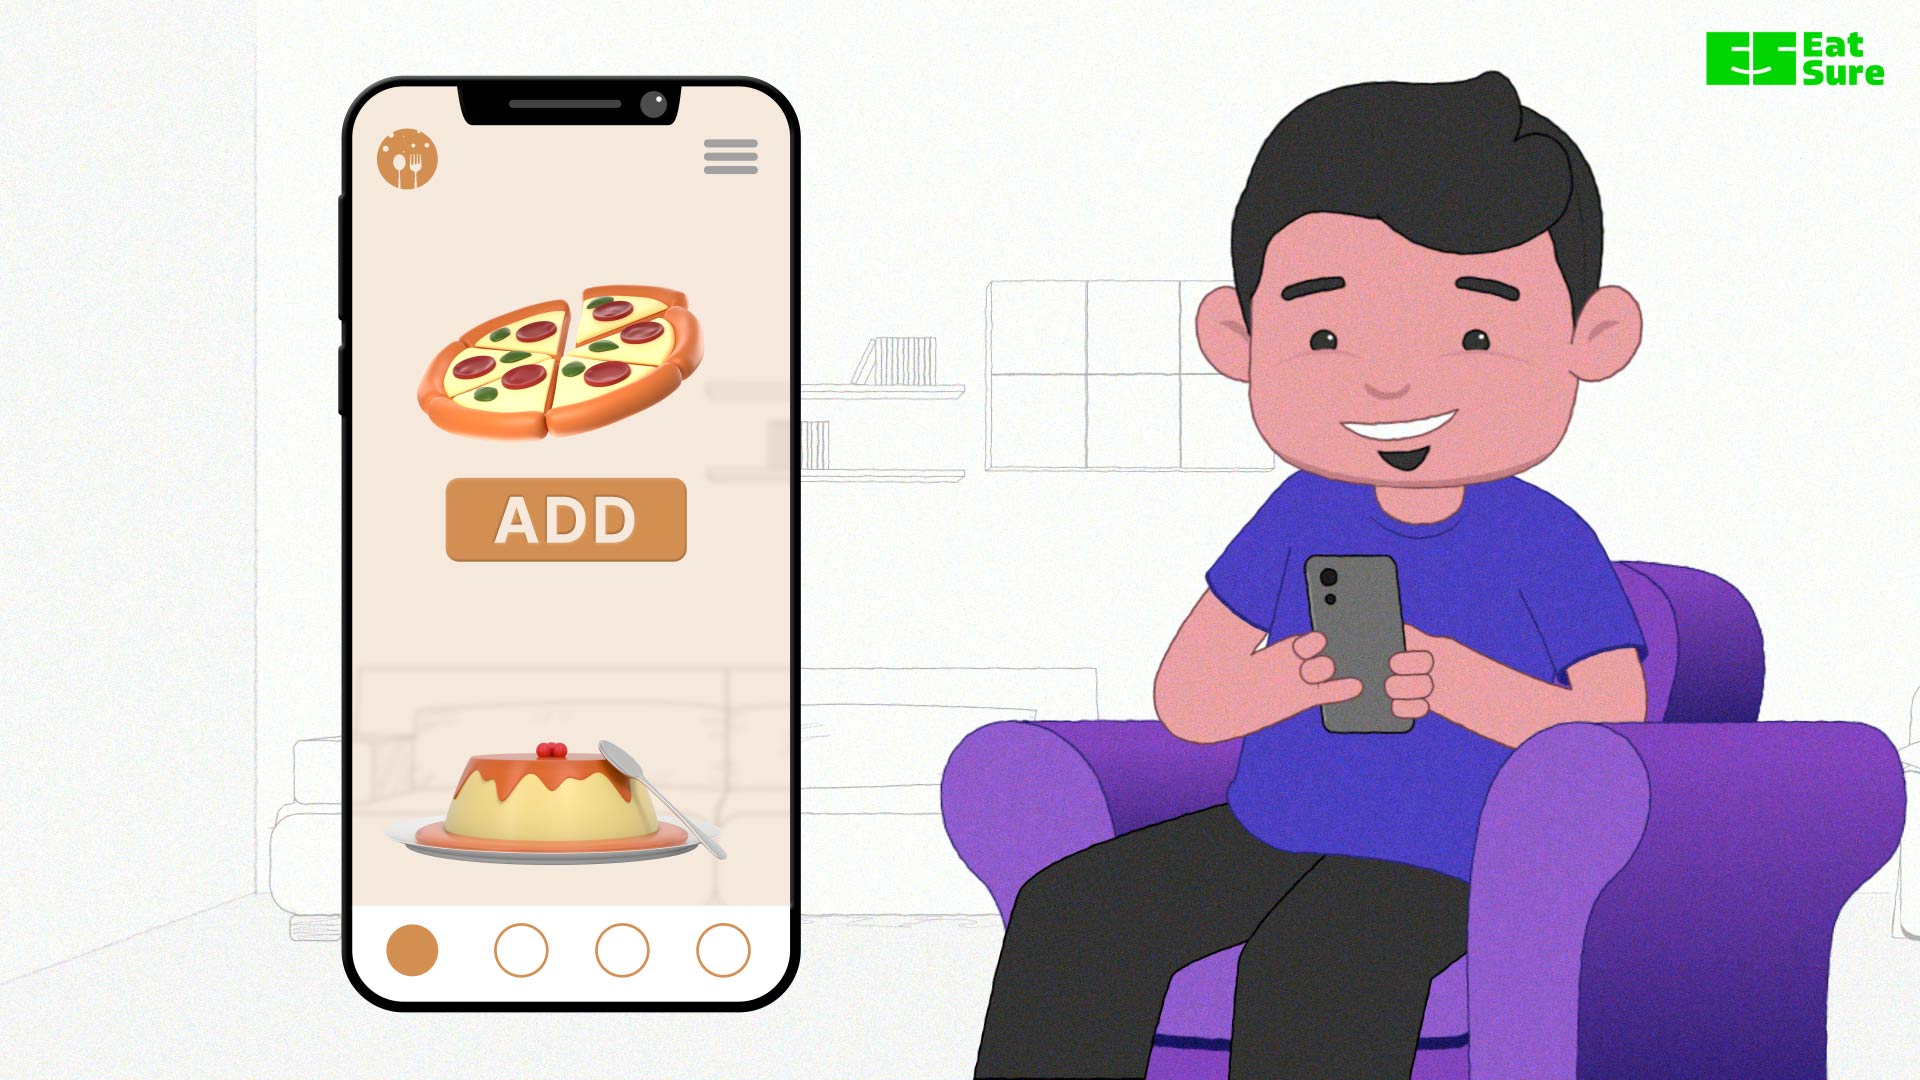
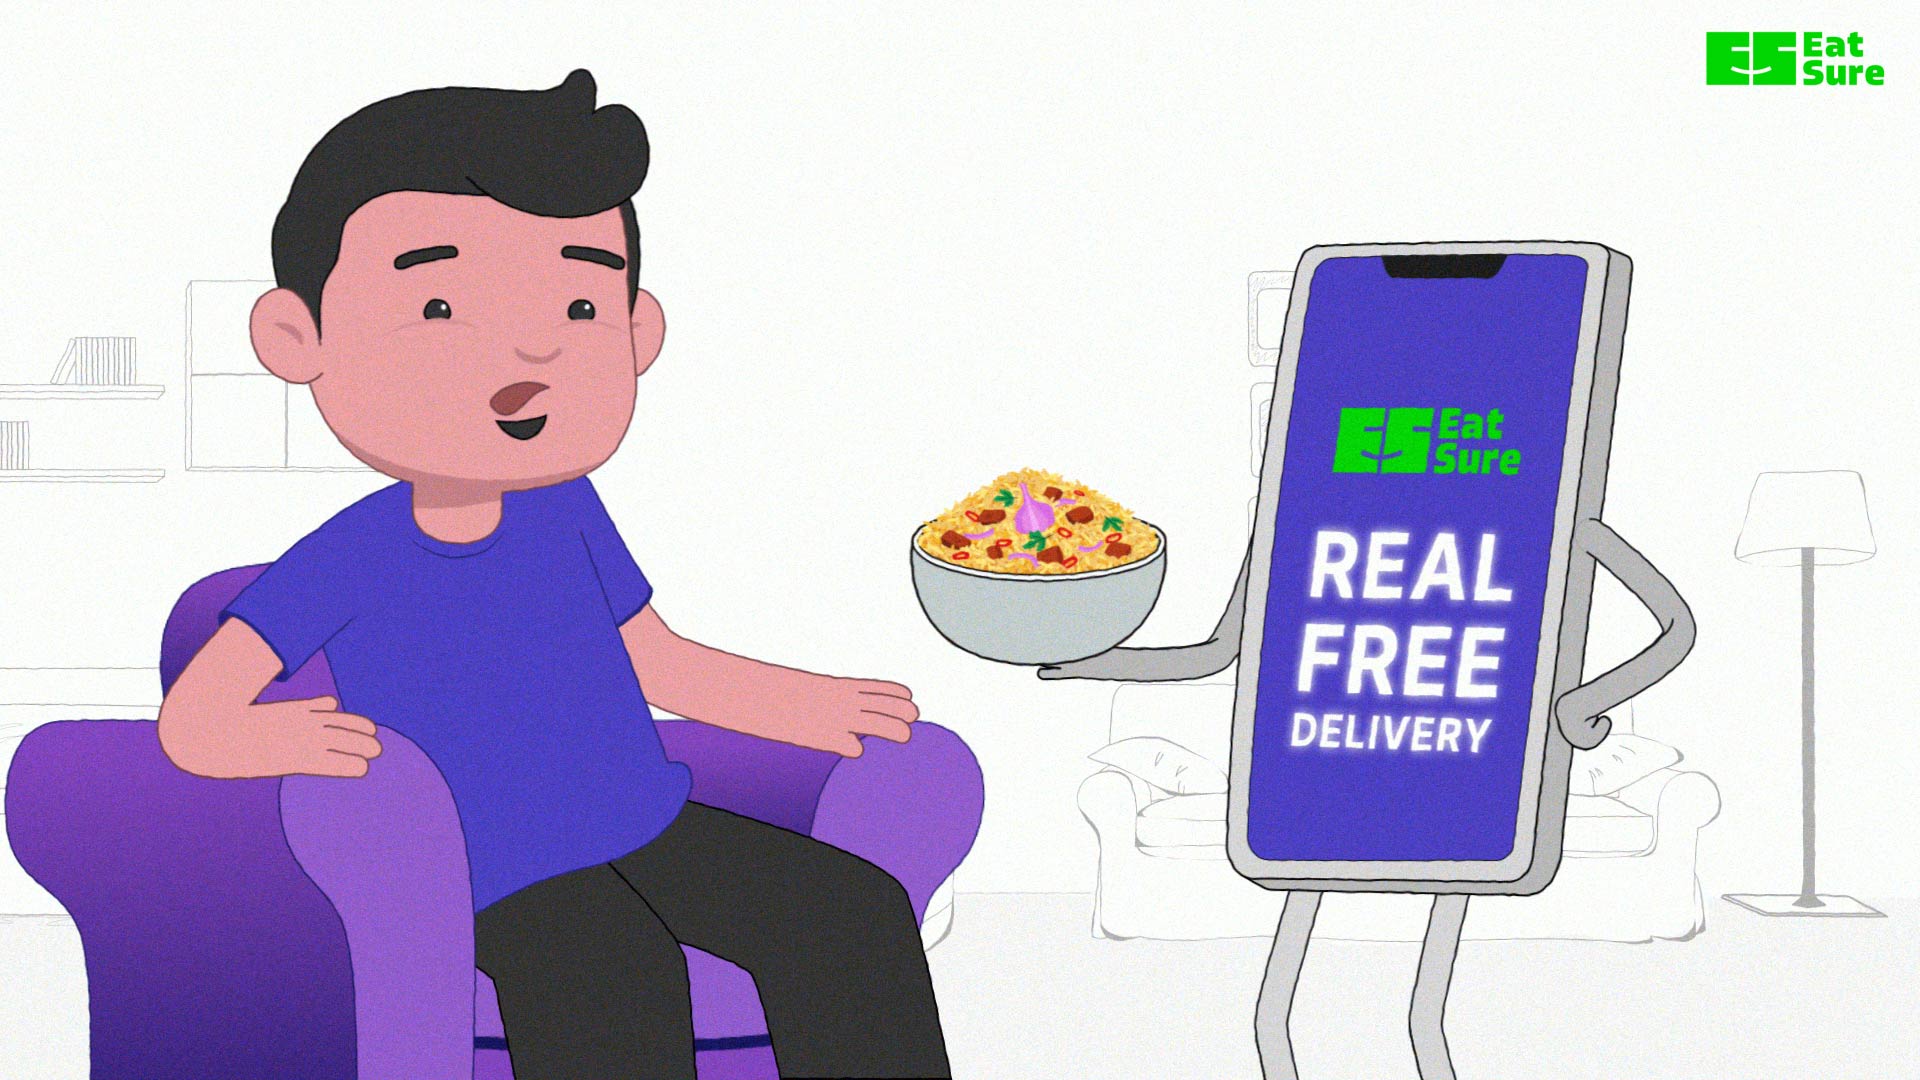
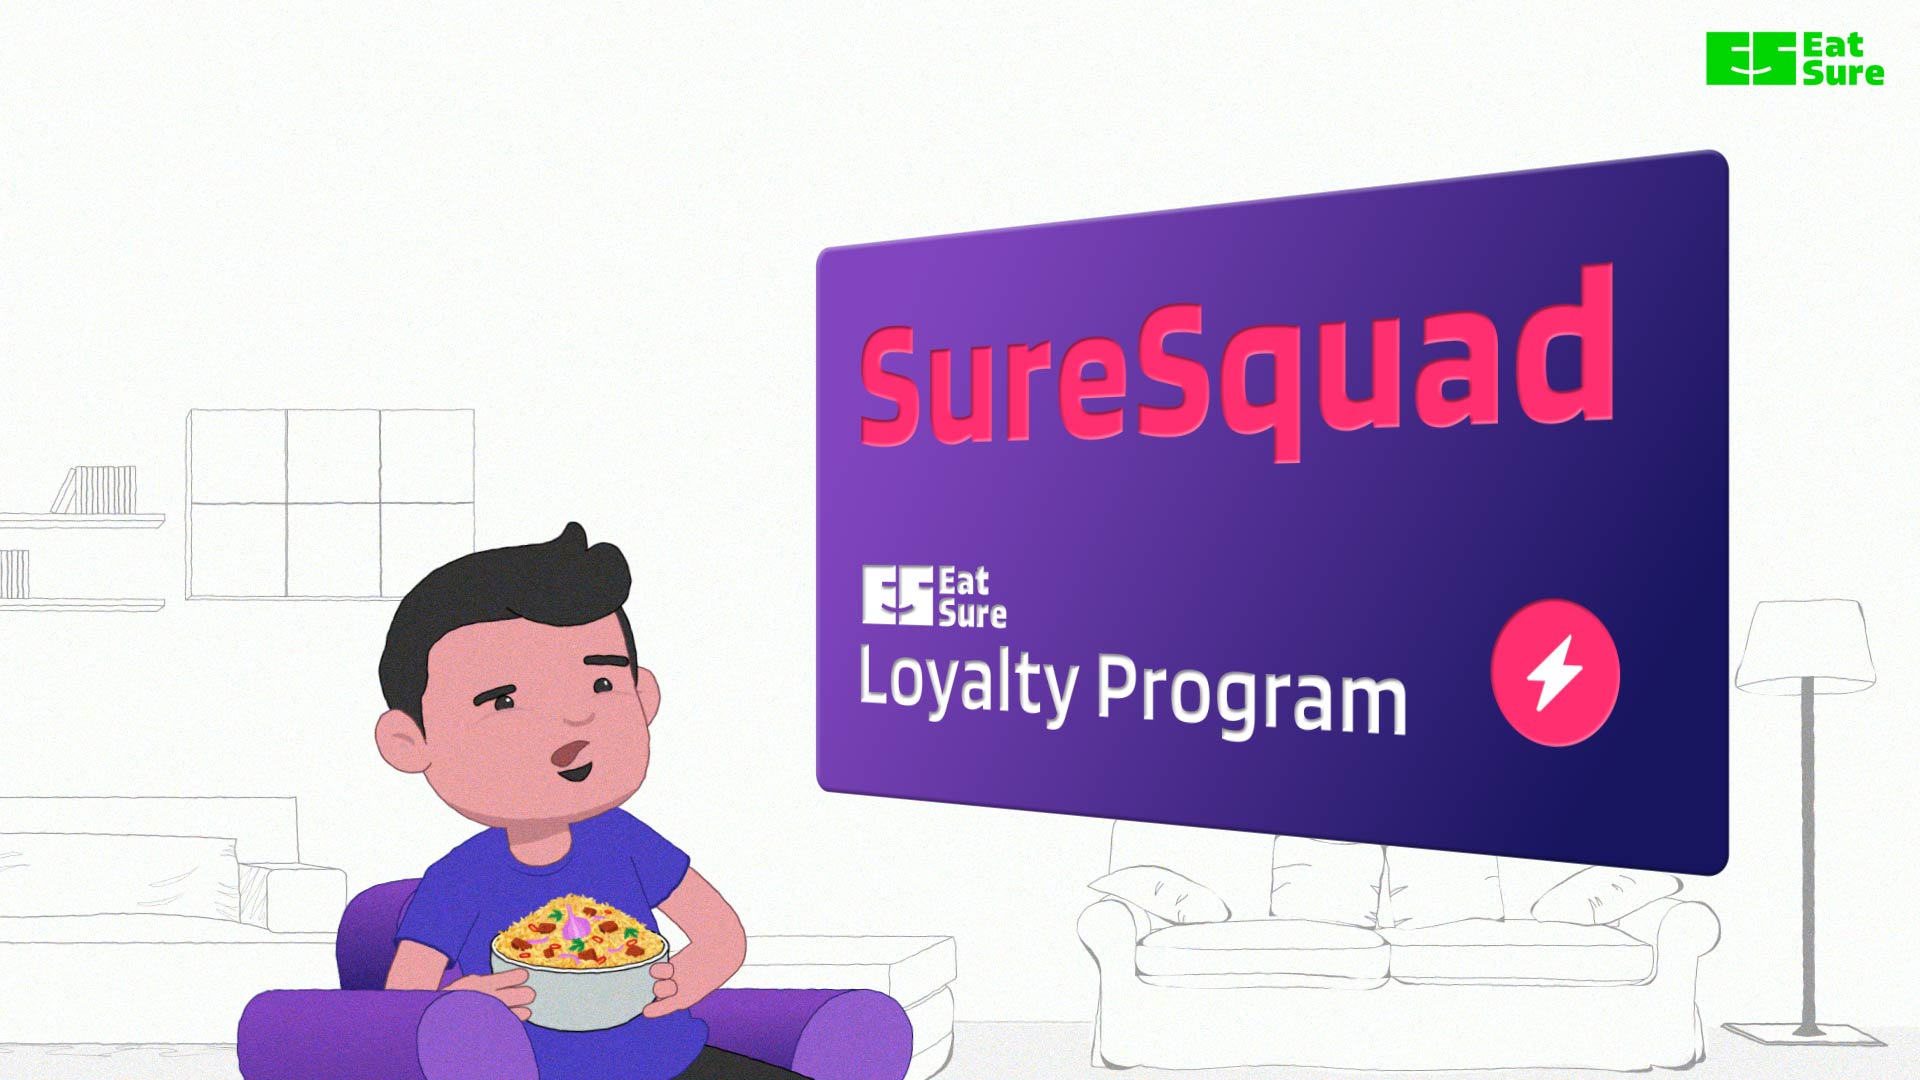
The video explains the new loyalty program of a food delivery app, covering how you can earn points and the rewards you’ll enjoy.
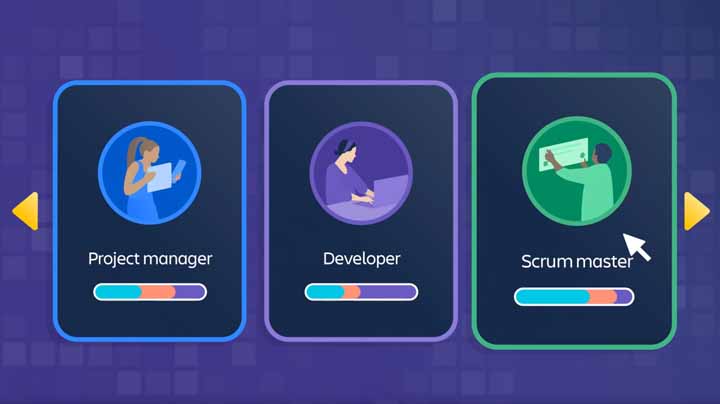
1. Questionnaire
2. Script ideas and visual references
3. Script
4. Storyboard
5. Voice over
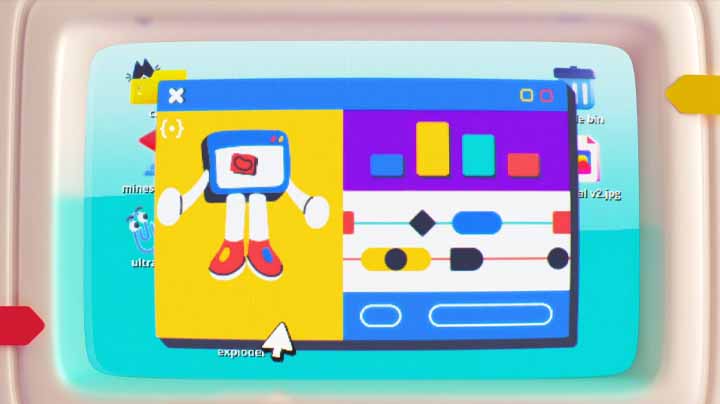
6. Design
7. Animation
8. Edit
Allow for a couple of complimentary revisions at every stage of the project. Progress to the next stage only upon full client approval. It’s prudent to have a predetermined fee structure in place should the client wish to revisit a previous stage after project progression.
For many, the beginning of the project can be perplexing. The instinct is often to let the client steer the narrative of the video, negotiate a budget, and hope for the best. I’ve been down this road before and let me tell you, it can lead to frustration.
This initial step is your opportunity to understand your client, their video’s purpose, the product or service they offer, and the broader vision of their company. Remember, your video is just one piece in the puzzle of their brand communication. Your goal here is not to reinvent the wheel, but to align your video seamlessly with the existing brand identity.
For smaller clients or startups lacking well-defined brand guidelines, consider initiating or delegating a brand guide project before diving into this process. Doing so will save valuable time in the long run.
The answers you gather through this questionnaire will serve as the foundation for determining the tone, content, and design of your video. It’s a crucial step that sets the stage for a successful project.
Questions:
Inferences:
While it’s essential to consider the client’s vision, remember that the best solution might not always align with their initial idea. Your role is to propose ideas that you believe are superior and to provide compelling justifications for your recommendations. Below are the suggestions I pitched:
Here we can talk about the loyalty points in general and how they aren’t ideal for customers. And then we can move on to explain how the SureSquad loyalty points are different. Here is an example:
“We all know how loyalty points work. Buy, earn, redeem, repeat?
And to top it off, an extra monthly fee for those ‘exclusive’ perks like free delivery?
At EatSure, we believe your loyalty should be rewarded differently. That’s why we’re proud to introduce the SureSquad – a loyalty program that gives you the benefits you truly deserve.”
And then we go on to explain the details of the reward program.
Here we can directly jump quickly onto how one can earn SurePoints and get Silver and Gold membership. We can spend more time on explaining the features and benefits, while keeping the timeline strictly under 40 seconds. Example:
“What can loyalty points get you?
Discount on a minimum order of rupees 500?
What if we tell you that it can get you a free dish, and that too with free delivery.
Yeah, that’s right! Prepare your taste buds for a whole new level of loyalty rewards with EatSure’s groundbreaking SureSquad program – where your loyalty points unlock a world of delectable dishes and convenient free delivery!”
And then we go on to explain the details of the reward program.
Here we can have a protagonist whom the narrator is talking to. Here the character will be a personification of our viewers and will respond to the information in an appropriate way. By putting a character we can convey more clearly how the user should feel about the new feature. Example:
“Rahul loves discounts. Well, who doesn’t.
But you know what he loves even more. A free dish.
And guess what’s even better? A free dish and free delivery.
The best part? You won’t have to pay anything extra – just keep ordering your favorite food, and the rewards will keep rolling in. This is no gimmick; it’s the real deal – introducing SureSquad, EatSure’s irresistible loyalty reward program.”
And then we go on to explain how the rewards work.
No beating around the bush, straight to point. Example:
“EatSure is bringing you loyalty rewards like never before. Get ready to be delighted with SureSquad, a reward system that finally fulfills all your cravings!”
And then we go on to explain how the rewards work.
The idea behind sharing the visual references is to establish clear expectations. Don’t share any video or image as a reference if the budget, timeline or your expertise doesn’t justify it.
Keep in mind that your objective isn’t merely to meet the client’s desires but to persuade them toward the most effective solution. However, before pitching any idea, take into account critical limitations:
In this phase, remember the value of under-promising and over-delivering, a principle that consistently yields superior results.
Once you’ve settled on a solid idea, it’s time to put pen to paper, or fingers to keyboard. Your script should encapsulate all the brainstorming and creative exploration you’ve undertaken up to this point and should be an extension of the selected idea in the last step.
Here are some essential considerations to keep in mind while crafting your script:
By considering these factors, you’ll craft a script that not only engages your audience but also effectively communicates your message.
Your storyboard is the bridge between the script and the final video. Here’s what to bear in mind during this critical phase:
Here is the Storyboard for the EatSure’s SureSquad video project.
Choose a voice actor whose tone and style align with your project’s message and audience. Their voice should resonate with the brand’s personality. Encourage the voice actor to inject appropriate emotion, emphasis and pacing into their delivery, aligning with the narrative’s tone and mood. Although your storyboard should be enough for a proper audio reference, you can still inject cues in the script as in the example below.
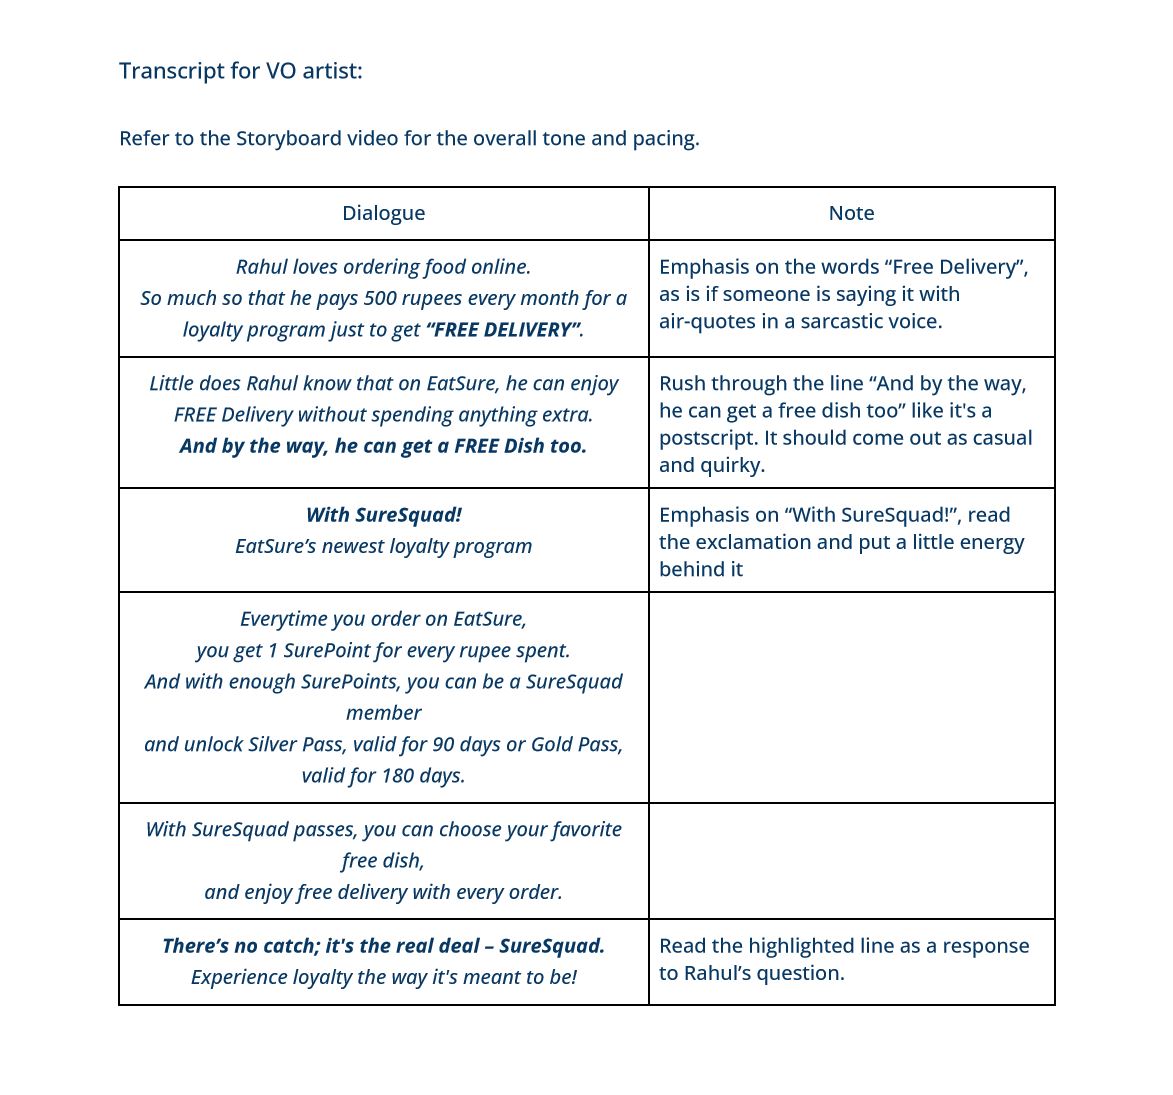
Click to enlarge image
You can also try AI voices, as they are getting better with each day passing. But as of now, I prefer human voices as the AI still can’t produce the nuances of emotions, but maybe soon it will get there.
Moving into the design phase, you’re now equipped with the essentials needed to bring your vision to life. This stage, often the second most time-consuming, is where you’ll craft the elements in their final form. It’s crucial to note that revisions at this stage can be time-intensive. To keep them to a minimum, use the wealth of information gathered thus far to make precise decisions.
Here are key considerations to streamline the design process:
This phase often demands intense focus and commitment. By this point, you’ve already determined what needs to be animated; now, it’s a matter of bringing it to life through your skills and the time you can invest.
Revisions in this stage can indeed be time-consuming, so consider these strategies to minimize them:
To avoid surprising your client with additional expenses, maintain clear communication from the outset regarding any extra costs.
Pro Tip: Never share the video without a watermark until the final payment is received. This preserves a sense of urgency on the client’s part and protects your work.
While you’ve invested considerable effort, there’s always the possibility that the client might not be completely satisfied with the final video, which can be disheartening. However, the process I’ve outlined here offers you a measure of control in such situations. Once a stage is approved, any criticism from the client is focused on the latest stage, reducing the likelihood of extensive revisions.
Trust your skills – You secured this project because the client admired your portfolio. It’s essential to continually strive for excellence, but remember not to be too hard on yourself. If you’ve given your best effort and the client expresses concerns about the animation, stand by your work and reassure them that it aligns with what was approved.
Keep in mind that there’s no universally defined ‘good’ or ‘bad’ video. What truly matters is creating a video perfectly tailored to the project’s goals. Whether you’re still developing your animation skills or just starting, prioritize meeting your client’s objectives over creating a visually stunning masterpiece.
Another potential challenge is unforeseen delays from the client’s side, often due to feedback or team approval processes. To mitigate this, consider direct communication with stakeholders to expedite decision-making. Ensure clear deadlines with your client and remain patient if payment is delayed due to such delays. Gently remind your client of payment obligations as needed.
You might also propose a payment milestone when the video is ready from your end, allowing for ongoing fine-tuning. In case issues persist, consider whether working with such clients aligns with your freelance goals.
Remember, a single challenging experience doesn’t define your journey. Freelancing equips you with skills not only in motion design and storytelling but also in negotiation and client selection. Each experience is a stepping stone towards growth and improvement.
Or email me at gaurav@catofilm.com
© All Rights Reserved 2023